Painting a car at a service station is expensive, many motorists prefer painting at home and with their own hands. Therefore, we will consider the painting procedure, cost and nuances.
The content of the article:
- Body inspection
- Cleaning from dirt
- Removing defects
- Preparation
- Painting
- Price
Any defect on the car body always leads to painting. But, unfortunately, not everyone manages to do this, since the technique and sequence of actions when painting a car is not followed. And even this will not be enough if you do not carry out this process using special equipment. Moreover, a motorist must have special skills in this matter.
Preparatory work and body inspection
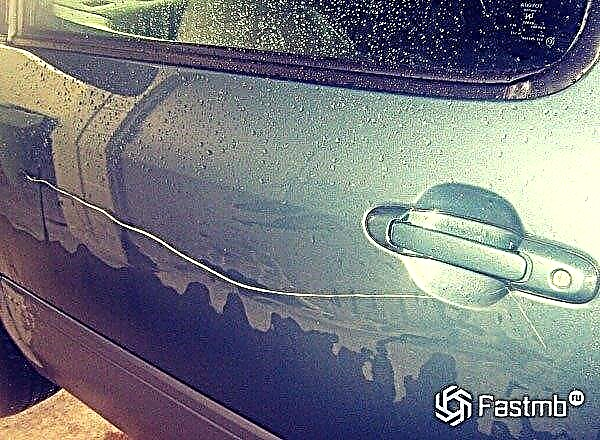
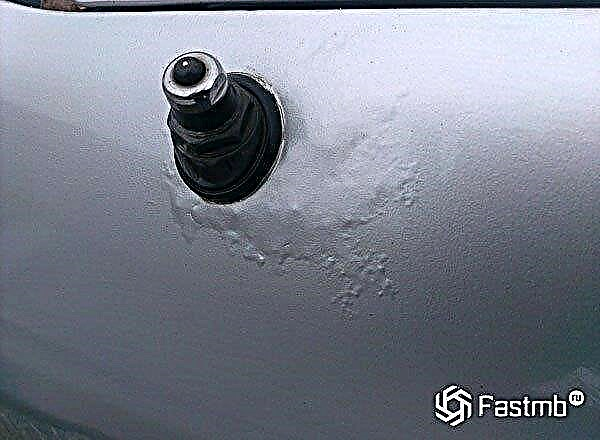
Before painting, it is recommended to wash the vehicle as thoroughly as possible. This is what will help to examine the entire surface in more detail for the presence of defects. The first and main defect is considered to be car corrosion. But, the list does not end there, and its ranks are replenished with grains of sand, stones and all sorts of small abrasives. And this is all because these "minor pests" touch the body of the car and its bottom. As a result, various kinds of scratches and dents appear, which must be removed before painting.
It is recommended to carry out preparatory work before starting to paint the car. Car painting, as a rule, is of three types: partial, spot or capital. This directly depends on the damage to the surface of the car.
Typically, painting a car requires an average of 10% of the total time of the process itself, but the remaining 90% is taken by preparation. For a start, it is recommended to remove all locks, seals, moldings and anything that may interfere with a high-quality painting. But, when this is ignored and these elements remain fixed on the car, or they are simply sealed with masking tape, then the accumulated moisture that has got into the cracks of these parts in the near future will negatively affect the painting of the car.
After removing unnecessary elements, the surface of the car body is cleaned, puttyed and primed. Further, the old surface coating is removed, and the places where corrosion spreads are treated.
By the way, when painting a car, it is necessary to use the products of one manufacturer, since materials from different manufacturers, as a rule, are rejected. It is because of this that the painted surface will not last long.
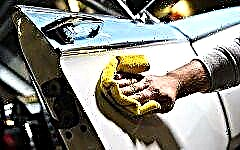
Body cleaning before painting
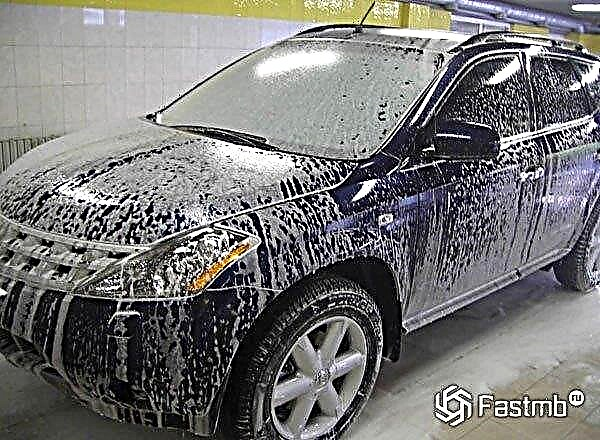
In the process of "fighting" road dirt and dust during a car wash, car shampoos and, of course, water are perfect. It is recommended to remove stains such as bituminous or greasy with special means, or with the help of white spirit, otherwise they will ruin the painting process. All funds are available in every auto shop. But, in such situations, it is forbidden to use gasoline or any other solvents, since when painting it will manifest itself immediately.
In the case of a full body paint, the front and rear bumpers must be dismantled, the decorative radiator grille, headlights with sidelights, radio antenna, external lighting equipment, direction indicators and other parts that may interfere with painting or leave a trace of dirt after applying paint must be removed. After removing all parts, rinse the body thoroughly. If there is anti-shock protection in the wheel arches or against dirt, then it must also be dismantled.
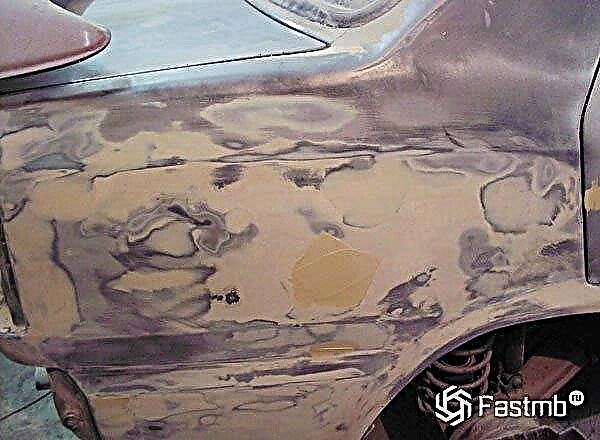
Cleaning and leveling of body surface defects
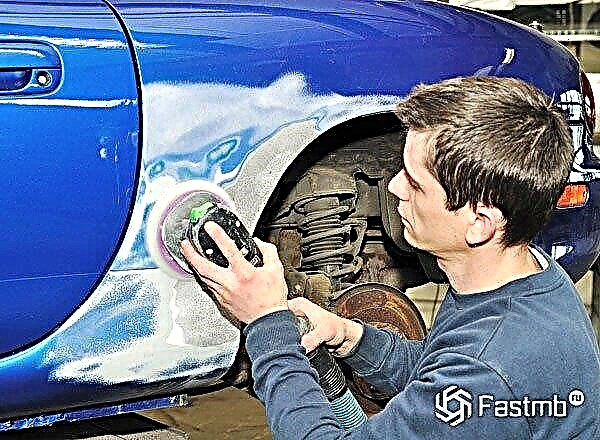
In order to better consider defects of varying degrees, it is recommended either to put the car in a well-lit place in a car workshop, or to go to an open area on a sunny day for a better perception of the state of the body. Defects that are quite noticeable, such as dents or cracks, are usually marked with acrylic paint or crayon. After the first inspection, it is advisable to consider everything again in order to avoid unnoticed defects, which, over time, can become centers of corrosion and stop painting parts.
The next step is to clean out the defective spots. To do this, you need a chisel or a sharpened screwdriver (the sting width of which should be 3-5 mm), and sandpaper with numbers 60, 80, 100. It is worth noting that the area of cleaning the surface should be as close as possible to the area of the "affected area" ... This will allow you to avoid additional costs of material and time in the future for further paint adjustments.
It is important that the transitions should be smooth from a defective to a non-defective surface of the car body. For a feeling of "evenness", it is enough to run your hand over the surface of the body, there should be no gaps or waves on the surface.
This is followed by repeatedly and as carefully as possible to wipe the surface of the body from dust. For the cleaned areas, it is advisable to use a cotton rag and pre-moisten it with white spirit. After that, the body must dry out. But when a car is overhauled, it is imperative to wipe the entire surface of the body with a rag, otherwise all dirty places will emerge during painting.
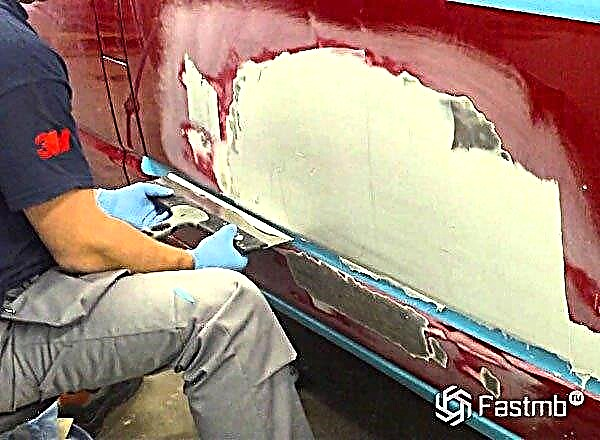
The next point in painting a car is the filling of defects. To do this, you will need: rubber and metal spatulas, as well as polyester synthetic car putty. Do not forget about the finishing putty, as it helps to close up problem areas. This is all due to its characteristics, since it is fine-grained, which means that the grinding work will be carried out "like clockwork". A special metal spatula will help stir the putty and hardener. As a rule, the proportions of obtaining this solution are indicated on the jar.
It will take 30-40 seconds to stir this mixture. Immediately after mixing, this mixture must be applied to problem areas. In this case, you need to create cross movements with a rotation of 90 degrees. The result is a flat and smooth surface of the damaged area, which will not significantly separate from the surface of the car body and is ideal for painting.
It is worth noting that a chemical reaction takes place in the putty. This means that already five minutes after stirring it, heat begins to evolve. That is why it is necessary to work quickly but efficiently. The main thing is not to waste your time, because then lumps begin to appear in the putty. And such a putty cannot be applied to the surface.
The putty should be given time (which is about 30-45 minutes) in order to become hard. To check the readiness of the surface for painting, you can simply wipe this putty area with dry sandpaper (number 80). When the putty does not stick to the grains of the paper, it means that it is already dry.
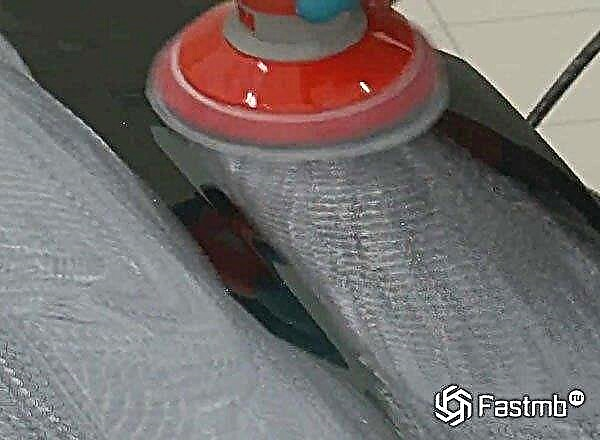
Skins number 120-600 will help in cleaning the putty surface of the car, which is carried out by hand before painting. The surface should be cleaned until it matches the geometry and roughness of the body. It is recommended to carry out this cleaning in several stages and grease the putty from time to time and if necessary. It is also worth avoiding contact of water with the putty, since then it loses its quality and the painting will not work.
Again, for control from time to time, it is worthwhile to run your palm over the treated surface to check for dryness. When the putty has dried and all the geometry has been leveled, then it is necessary to clean the prepared area for painting from dust with a rag.The rags must be moistened with white spirit and dried.
Further, before painting, a layer of primer with a light brown tint and "overlap" is applied to the surface of the body on a clean surface. Also, do not forget about quality control of already clean surfaces, ready for painting.
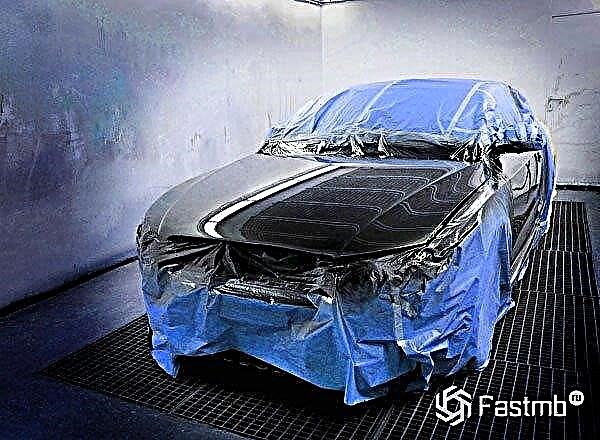
Preparing to paint a car

At the penultimate stage, before painting, you must once again make sure that there is no dust on the surface of the body. Next, you should glue with masking tape exactly those places that will not give in to painting. The same applies to the wheels of the car. It is also worth noting that the distance between painted and unpainted body elements should be approximately 0.02 millimeters. The features of these elements should be placed along the edges of the bend itself or along the edges of the necessary auto parts on the surface of the body.
After the above, it is necessary to use sandpaper number 1200 to sand the paintwork to a matte finish. Again, using a rag and white spirit, you need to wipe the treated surface well and leave it to dry for a while.
Now, mention should be made of the working room where the car will be painted. In most cases, car painting is carried out in a large enough garage, and in such a way that the working area around the entire perimeter of the car is at least 2 meters. In this situation, it is necessary to take into account that the garage is clean. That is, so that there is no dust and dirt, so that small particles do not fall from the ceiling of the room. It is also necessary to first wipe the floor with a wet cloth. Often a film is stretched on the walls and ceiling, this protects from excess dust.
At home painting a car, it is necessary to give preference to car enamel with the ability to dry, and not bake. But the choice of a brand of paint and car enamel directly depends on the car enthusiast and his financial capabilities.
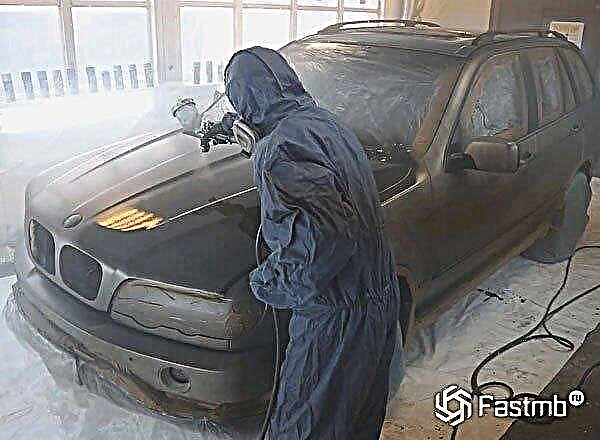
Car surface painting

First of all, for painting, you will need to dilute the enamel with a solvent to the desired consistency, following the instructions. After that, this compound of substances must be filtered through a special mesh funnel. The mixture is then poured into a spray gun. It should be noted that in such cases it is necessary to use a gun with a nozzle No. 1.4, the air pressure of which is 2.5 - 3.0 atm.
It is best to start the process of painting the car directly from its roof, keeping the nozzle at a distance of 1.5 - 2.5 cm from the surface to be painted. Movements should be smooth. After applying the first layer, you need to wait 15 minutes until the enamel is dry and paint another 1-2 times with a time interval.
Three rules of health protection when painting:
- car painting is carried out exclusively in a well-ventilated area and wearing a respirator;
- in the room where the painting is done, in no case should you smoke;
- as far as possible, constantly ventilate the room well after painting.
As with any painting, the color will begin to show normally only after the second painting. And it will take 24-36 hours to dry the entire surface of the car, observing the temperature regime at + 20C.
Car painting price and material
The cost of painting will largely depend on how large the area requires painting. On average, professional painters charge about $ 50 for every detail of a car, this applies to domestic cars and ordinary foreign cars. If we take premium class foreign cars, the cost may double or more. It is also worth considering the area on which the paint will be applied, the larger it is, the more you will have to pay.
It is worth counting on the fact that paints and varnishes themselves for painting are not cheap. In addition, you will need to buy sandpaper and other painting tools. On average, the price of car paint starts at $ 10 per liter. Varnish to cover paint will cost from $ 5 per liter.
If you want to paint the damaged area perfectly, but have never had to do it, then it is better to contact a specialist, since experiments will cost much more than paying for the work.